Showing posts with label Cards. Show all posts

Wednesday, July 20, 2016

Hello - It's Me

This week's Mojo Monday sketch motivated me to use the CTMH Stamp of the Month, From the Notebook (available only in July).  I love how it came together!  


Materials used to make the card:

Stamp sets: From the Notebook, Tickled Pink
Cardstock (all Close To My Heart): Black, Raspberry, White Daisy
Paper: Calypso
Inks (all Close To My Heart): Black pigment ink, Cotton Candy, Pixie
Extras: Gold foil tape, Tickled Pink Thin Cuts (not available), Thin 3-D Foam Tape, White Card Base (bulk package)


Check out the sketch at Mojo Monday! 


Thursday, July 7, 2016

Mojo Monday 455 - Calypso Card

I'm excited to get back into blogging, and I'm kicking it off with participating in the Mojo Monday card sketch challenge! I used the super cute sketch to create this card. 


I'm crazy about the flamingos in the Tickled Pink stamp set, and it also has a coordinating set of Tickled Pink Thin Cuts! It was my first time using the Thin Cuts, and they worked like a charm. 


The CTMH clear acrylic stamps make it super easy to line up the stamp on the Thin Cut, too. The paper is Calypso. And how about those Calypso sequins? They are just the cutest! These items are only available through July 31. 

Wednesday, July 17, 2013

Rediscover CTMH - You Make Me Happy Card #4

Ever since my daughter's wedding, I have been inspired by the colors she chose (grey and yellow). I have purchased bedding in that combo and was drawn to the gray tag in the free downloads. It just seems cheerful, which suits the sentiment! A little bling helps it sparkle. 


Tuesday, July 16, 2013

Rediscover CTMH - You Make Me Happy Card #3

The free downloads from CTMH feature eight tags in different colors that fit just about any color combination you can imagine! I borrowed the layout and color combination for this card from the new Make It from Your Heart - Vol. 2 to be released August 1. Remember the video a few days ago about using background stamps? I was inspired and used a background stamp on the Ruby cardstock! 


I'm continuing in my commitment to use up older products, so I used the 6x6 kraft cards. They have a fun flap on them, and I held the top closed using one of the hook & loop dots. 

Monday, July 15, 2013

Rediscover CTMH - You Make Me Happy - Card 2

Here's another fun card using the free downloads from CTMH available until July 31. I'm trying to use some of my stash before I dig into the new products. The Dotty for You papers always made me happy, so I thought they were a great fit for the sentiment on the tag! I also used the now retired clear cards, which I love. 

The trick to using clear cards is figuring out how to hide the adhesive. I try to always use layers and place one on the inside, then the smaller piece on the outside to avoid seeing the adhesive. Once you get the hang of it, it's a piece of cake!


Sunday, July 14, 2013

Rediscover CTMH: You Make Me Happy - Card 1

I downloaded these cute tags from CTMH: Rediscover CTMH. The tags are available through July 31 and are free, so be sure to hop over to download them today! For the next few days, I'm going to share what I've done with the tags, starting with this monochromatic card:


The card is standard sized (4.25 x 5.5") and was so easy to make using White Daisy and Hollyhock cardstock, Hollyhock ink, and one stamp set - Honeycomb. I even stamped the small hexagon shapes across the bottom of the inside of the card. 

Thursday, May 23, 2013

Dream Pop Birthday Card

My oldest son celebrated his 22nd birthday earlier this month, and of course he had to have a special, hand-made card from Mom! I knew our gorgeous Dream Pop papers would be perfect. I wanted to try inking the resist cardstock to see what it would look like, and I L-O-V-E the results! I inked Outdoor Denim over the green resist paper and created an entirely new look.


The Dream Pop papers are only available for another week - $10 with a $35 order. 


Tuesday, February 12, 2013

Countdown to Valentine's Day - Day 12: Chalkboard Technique


This one is getting in just under the wire! We're almost there - thanks for counting down to Valentine's Day with me! Today's project is not only my countdown project, but it also works for two challenges - Mojo Monday and the Heart 2 Heart Challenges Love Is in the Air challenge. 


I tried the trendy chalkboard technique. I used the CTMH Chalkboard paper (12 x 12) and White Daisy pigment ink to stamp the sentiments. I used the heat gun to set the ink a little, but I also wanted some smudges to look like erased chalk. (That's my story, at least - and I'm sticking to it!) I will definitely be trying this technique often.


Sunday, February 10, 2013

Countdown to Valentine's Day - Day 10: I Mustache You . . .


I "Mustache" You - Will You Be Mine? Corny - yes! But I think it's fun, too. I'm not sure where the mustache trend started, but I'm glad CTMH got on board! The 'staches on this card were cut using Cricut Artiste. This was a fast, simple card to make.  


Update: I submitted this card for the Heart 2 Heart Challenge "We Mustache You to Join!" in March 2013!

Items used:

Thursday, February 7, 2013

Countdown to Valentine's Day - Day 8: A Little Valentine Mojo

I took advantage of this week's fun Mojo Monday sketch to create the card for today's countdown. I used some brand-new products, like the washi tape - LOVE!


Items used (all Close To My Heart):


Monday, February 4, 2013

Countdown to Valentine's Day - Day Five: Heart Card


Welcome to Day Five of the Valentine's Day Countdown! I'm really loving the combination of kraft cardstock and Smoothie ink and cardstock. This sweet little card was inspired by a Pinterest creation found here. (What did we do before Pinterest?) I also got my money's worth out of the Whooo's Your Valentine stamp set. I love all the hearts! 


Sunday, February 3, 2013

Countdown to Valentine's Day - Day Four: Card Box


I'm crazy about the Love notes! I covered a My Creations Card Box with Smoothie cardstock. The top was decorated with the Love stamp matted with a Smoothie heart cut on Artiste. A little bling was added using Silver Shimmer Trim, Sparkles Clear Flourishes - Small, Pixie Glitter Alphabet, and a Shimmer brad (retired). So easy!

The cards came together really quickly. I used the Love stamp on a White Daisy square matted with Smoothie. The cards fold on top, so I wrapped the card with Slate Satin Polka Dot Ribbon, which I gathered on the side with a piece of Smoothie Baker's Twine. It took a bit of creative placement to get all four cards to fit neatly in the box, but they do fit! I hope you enjoy this project and add yours to the countdown!


Saturday, February 2, 2013

Countdown to Valentine's Day - Day Three: Checkerboard Heart Card


This card just makes me happy. It was so fun to make! I was inspired by this card I found on Pinterest. I started with a 6 x 6 inch kraft card base then added a 5 3/4" Cranberry mat. The main part of the card is a 5 1/2" square of kraft cardstock. I made a grid using 1/2" inch strips spaced evenly. The hearts (Whooo's Your Valentine) are all stamped on kraft cardstock then hand cut. I placed the smaller hearts directly on the background; the larger heart are raised using 3-D foam tape. The smallest heart is layered on top of the large heart then topped with a knot of hemp baker's twine from the new Mini-Medleys Accents Wooden Collection. Everything is distressed with Saddle ink. 

Here's the inside:


Thursday, January 31, 2013

Countdown to Valentine's Day - Day One

Thanks for joining me for my third Valentine's Day Countdown linky party! You can play along all fourteen days, one day, or just check out the ideas! It's more fun if you play, though - so please add your creations as we go each day. I'll be posting every day (hopefully!) right after midnight from February 1 - 14. 


My first project is quick and simple: four 3 x 3-inch cards made using the Pun Fun stamp set and the stamp set from Whooo's Your Valentine. I stamped each image using cocoa pigment ink on kraft paper. Once it dried, I used our amazing alcohol markers in Smoothie to color in the image. A quick border, some Opaques Mocha Gems, and you have some cute little Valentines!

Now it's your turn! Add a link to your project and play along! 


Monday, January 7, 2013

Monogram Note Cards

When I saw the monogram stamp sets in the Autumn/Winter 2012 Idea Book, I thought they were one of the best ideas ever! Each one is only $2.95 - quite a bargain! I have been collecting them slowly and decided that some personalized note cards would make great gifts for co-workers this Christmas.

I dipped into my stash of paper and decided to use some Roxie paper (now retired). I pulled out my Value Pack of Colonial White cards and envelopes (I always keep some of those on hand - they're a great value!) and went to work. 


I kept things pretty simple:

  • Cut a 4" x 5 1/4" mat from B&T paper.
  • Cut a 3 3/4" x 5" piece of Colonial White cardstock.
  • Cut a 1 1/4" x 5" piece from coordinating B&T paper.
  • Cut a 1" x 5" piece of Colonial White cardstock.
  • Using the Cricut Artiste cartridge, cut a circle from the Colonial White cardstock to stamp the image and another circle 1/4" inch larger from B&T for a mat.
  • Stamp the monogram image on the Colonial White circle.
  • Layer the pieces.
  • Before adhering the matted circle, cut a 1" piece of Silver Shimmer Trim and notch out the tail. Place it behind the circle before adhering it all to the card. (Remember that the Silver Shimmer Trim is self-adhesive.) 
I made six cards per person and packaged them in a clear envelope along with the coordinating envelopes. Simple, yet personal! 

Thursday, May 3, 2012

Cruisin' to 21

We have had a lot of milestones in our family this year. My youngest child is graduating high school, my oldest child is getting married, and my middle child turns 21 today. Here's the birthday boy:


He's holding the card I made him because - well, I couldn't really get him a store-bought card, right?! I used the Mojo Monday Sketch 238 (although I wasn't able to get it posted in time to link). The papers are Cruisin'. Kind of minimalistic, but it suits my boy.


Monday, April 16, 2012

Dotty for You Blog Hop


We're going Dotty with a fun blog hop! Join me to see fun, creative projects made using the Dotty for You papers. The hop is a circular hop, so you can start anywhere. If you arrived here from Judy Faye Garner's blog, you're on the right path! The link to the next blog will be at the end of my post. Enjoy!

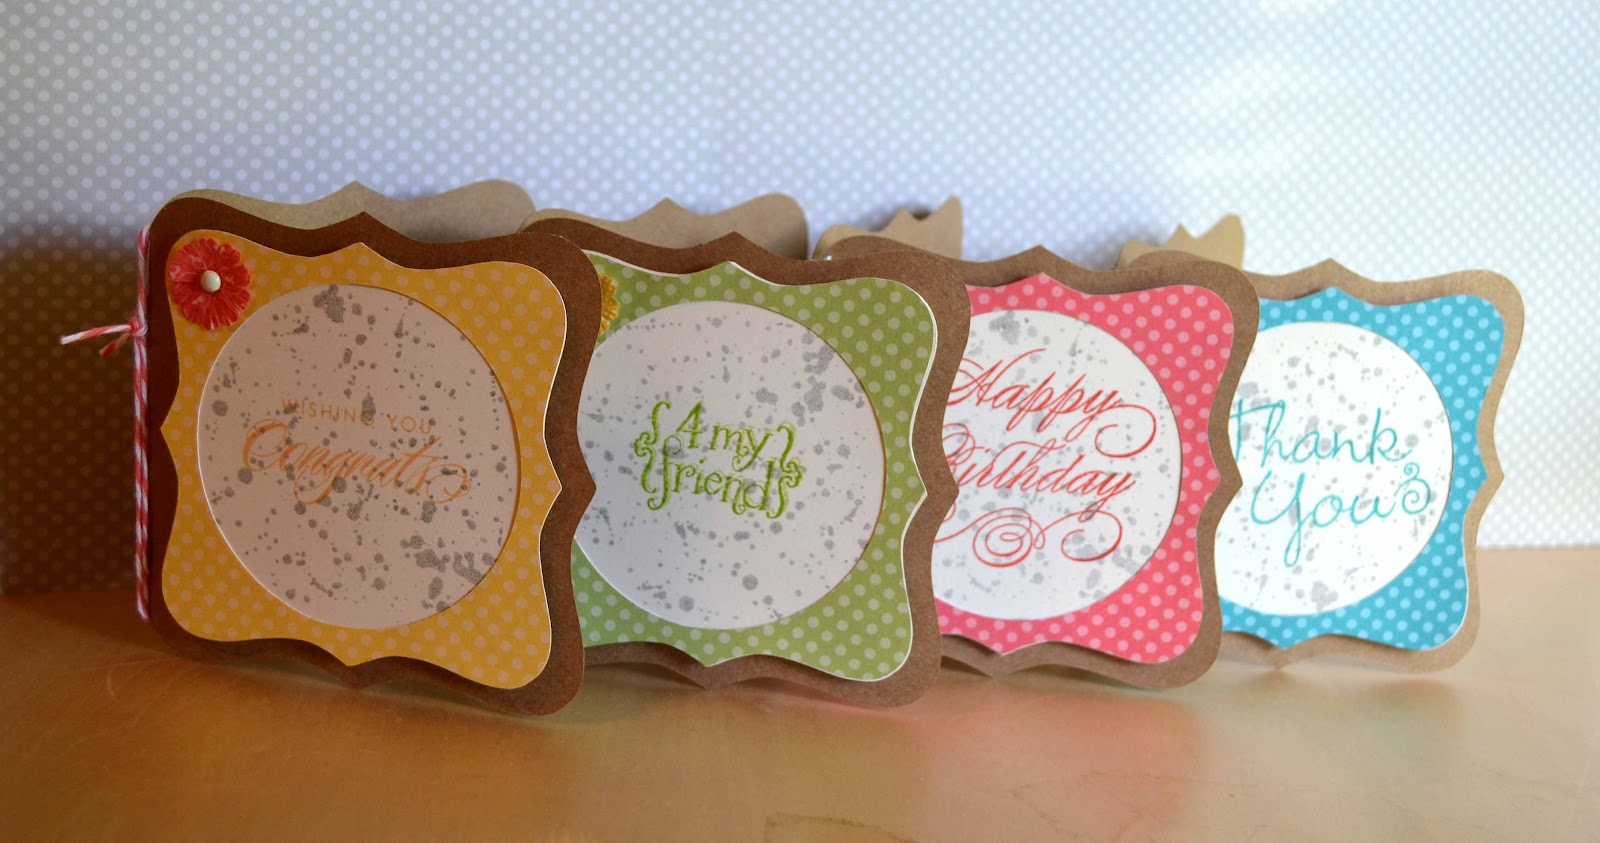
The Dotty for You paper packet has 12 different patterns (2 sheets of each pattern), PLUS the reverse side is dotted paper in different colors! Fun! I used the dotted side to make this little quartet of cards. I cut the cards using Art Philosophy and kraft cardstock. (Card - , cut at 4"; front: Layer - , cut at 3.5") Super easy!


To make things even more fun, I also made matching envelopes (Font layer - Shift - , cut at 4.25" for the envelope and 4" for the liner).


To make the cards, you will use the following items:
Papers: Dotty for You, Kraft and Colonial White cardstock

Now hop on over to Michelle Loncar's blog to see her cute project!  If you get stopped along the way, click here for a complete list of hoppers.

Tuesday, March 6, 2012

I'm lovin' Lucy!

This sweet paper packet is perfect for a birthday card for someone special. I love the soft colors in "Lucy!" When I saw this week's Mojo Monday sketch, I immediately pictured a flower pot on the front of the card. Love how it turned out!


Can you guess which shape on the Cricut Art Philosophy cartridge I used to make the flower pot? I adapted the present by making a few small adjustments! First, measure in 1/2" from each side and draw a line up to then part that extends slightly at the top. Cut along each line.


Cut off the bow at the top - instant flower pot! I used the gray wool marker to shade it just a little because it looked too flat.


The flowers are the Paradise Paper Flowers, and the leaves were cut using Art Philosophy. I attached them to a small piece of cardstock so a little message could be pulled out like this from the flower pot that is raised a little using 3-D foam tape --


The center of the flower is CTMH baker's twine, coiled on a glue dot. After taking these pictures, I decided the center needed a little adhesive pearl.


Of course, the inside needs to be pretty, too!


The sentiment was double-stamped: first, in first generation Cotton Candy ink, then in second generation Gray Wool, slightly offset to give the illusion of a shadow. I love the look!



Wednesday, February 29, 2012

Another Florentine card with some Mojo 229

Even though this sketch is from last week, I really wanted to make a card using it. Do you ever see a card or layout in your head and just have to make it? That's how this card was!


I really, really wanted to try making the crinkled ribbon using the new CTMH Color-Ready Seam Binding Ribbon. It was very quick and easy to make. I sprayed a length of seam binding using rubbing alcohol and re-inker mixed in the Spray Pen. I spritzed away until the ribbon was a little darker than I wanted it to be, since I knew it would dry lighter. I scrunched the ribbon as I spritzed it, the scrunched it up as small as I could. I dried it with the heat gun, holding the ribbon with craft tweezers. Keep the heat gun moving so the ribbon doesn't scorch. It dried in just a few quick minutes with a nice rumpled, crinkly look. 

The stamp set for this card is one of many A-size stamp sets (only $6.95!). I love how quick a cute card comes together with this darling stamp. I inked the heart in Goldrush ink, then used the sponge daubers to add some Olive and Twilight ink. 

I used these products to make the card:


Florentine Level 2 Paper Packet
Adore
Spray Pens
Just Blooms - Flutter
Foundry Pin Clips
Bohemian Assortment
Bouquet Assortment
Color-Ready Seam Binding Ribbon

And the sketch --