Today's project is another practical/decorative item. I used the My Creations Cube to make a gift box that can later be used as a photo cube. The idea came from the amazing mind of CTMH Consultant Christine David. You can see her box here.
If you'd like to see a tutorial on putting the cube together, click here to go to an earlier post on my blog.
The ribbon roses were really easy to make. Start by punching a circle the size you want your flower to be. Using a glue dot (you'll use a lot of them!), attach one end of the ribbon to the center of the cardstock circle. Start twisting the ribbon, attaching it to the cardstock every little bit with a glue dot. Keep going until the flower is the size you want it to be. I ended my flowers by attaching the end to the back of the cardstock circle. A Pearl Opaques in the center is the finishing touch. I have a lot of retired ribbon, so this is a great way to use it up!
I apologize for the quality of the photos. I'm struggling with the white balance on my camera.
Items used (all items CTMH unless noted):
Paper: Sweetheart Level 2 Paper Packet
Stamps: Love Ya!
Ink: Baby Pink; Cotton Candy
Embellishments: Button Collections - Pink; Colonial White Waxy Flax; Pearl Opaques; Blush ribbon (retired); White organdy ribbon (retired)
Other: My Creations Cube
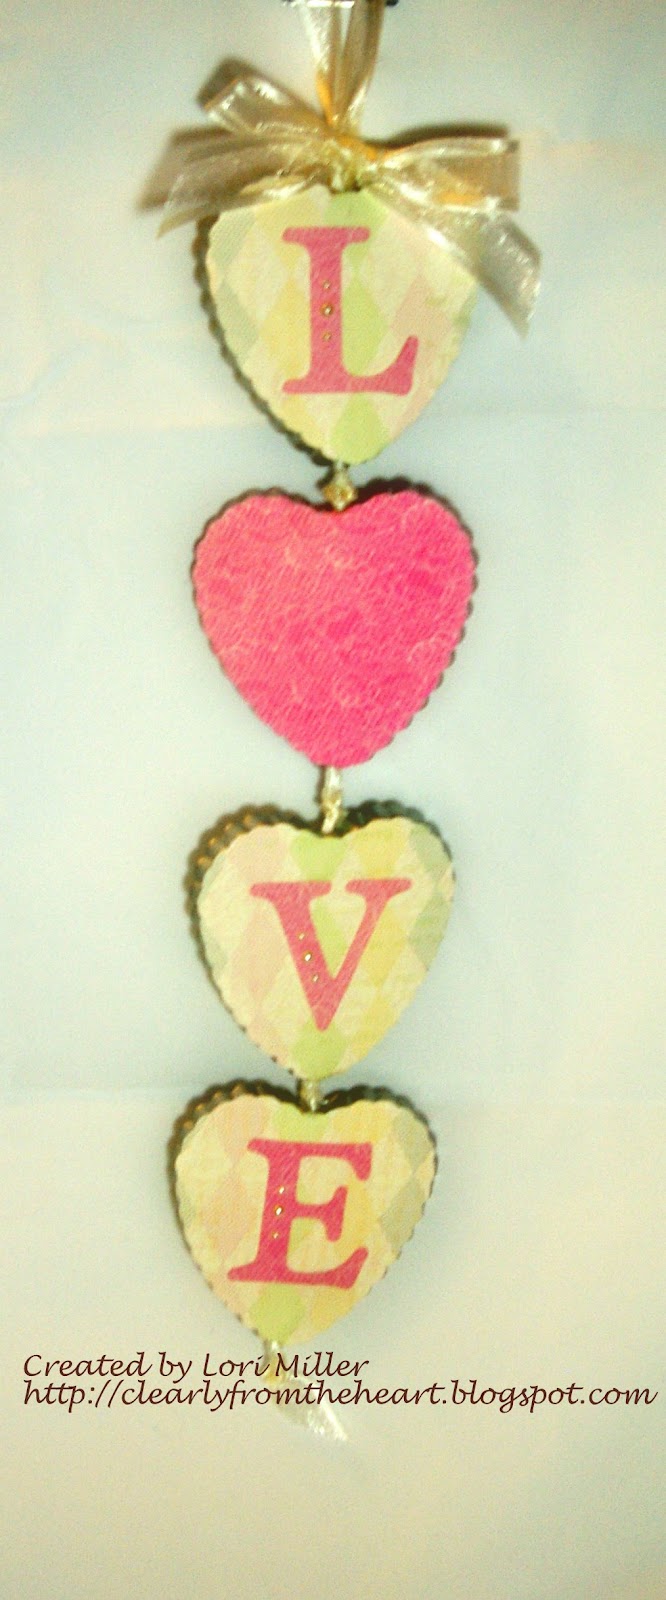
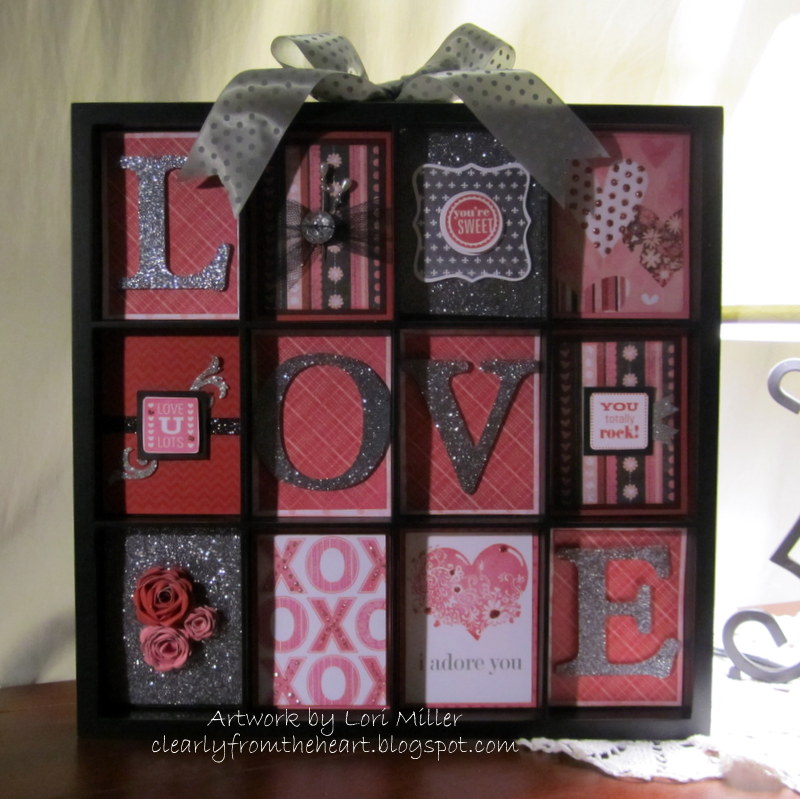
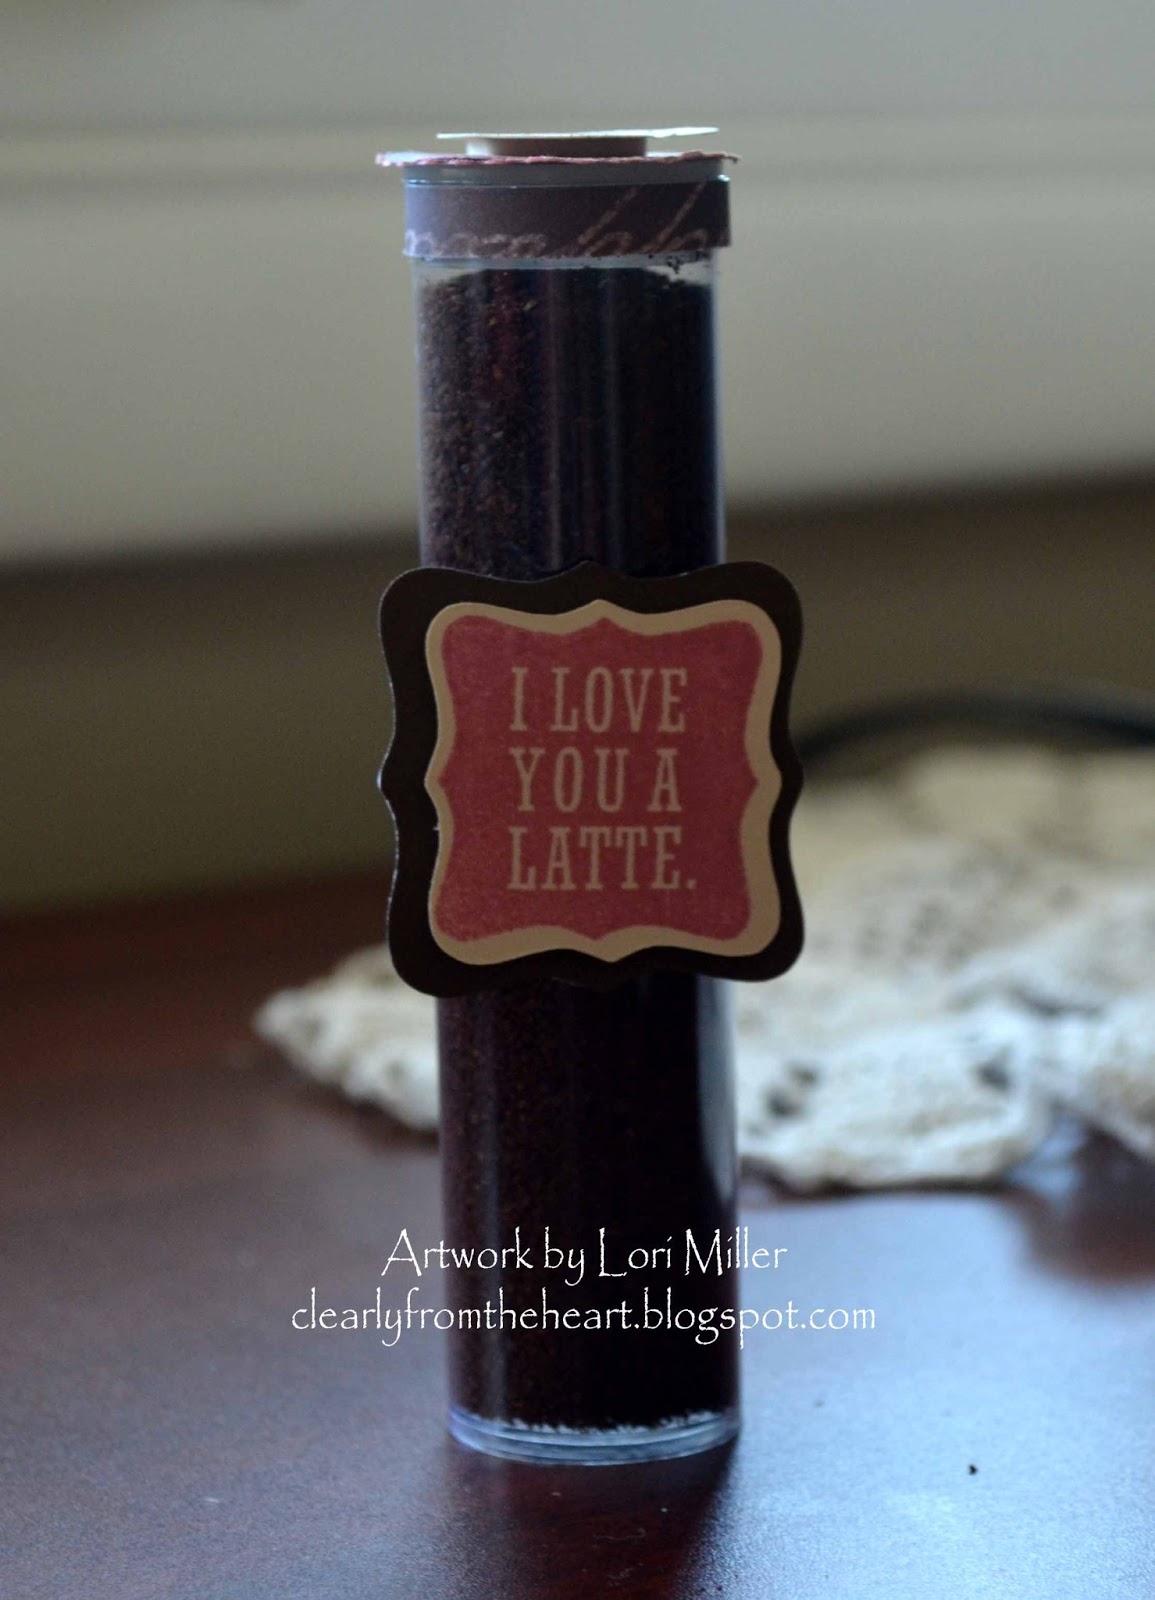
Enjoy the following projects:


.JPG)